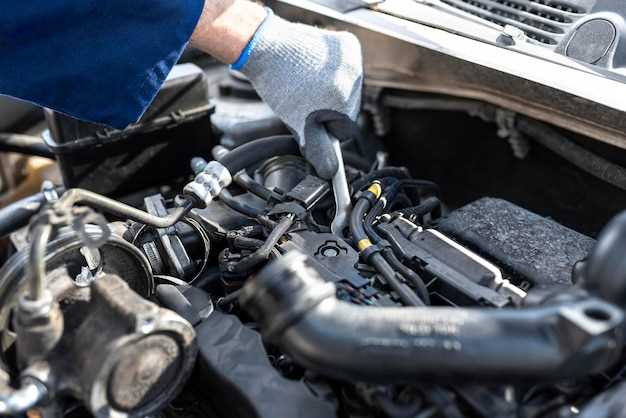
Upgrading to a high-flow intake manifold is one of the most effective modifications you can make to enhance the performance of your vehicle’s engine. This critical component plays a pivotal role in how air enters the combustion chamber, influencing horsepower, torque, and overall engine efficiency. By optimizing airflow, a high-flow intake manifold allows your engine to breathe better, which can lead to substantial gains in power and responsiveness.
In this guide, we will explore the various aspects of high-flow intake manifold upgrades, including their benefits, the different designs available, and factors to consider when selecting the right manifold for your application. Understanding the relationship between your engine’s needs and the characteristics of different intake manifolds is essential for achieving the desired performance outcomes.
Furthermore, we will discuss installation tips, potential challenges you might face, and important tuning considerations to ensure that your upgrade integrates seamlessly with your existing setup. Whether you’re aiming for improved track performance or simply looking to enhance your daily driver, this comprehensive guide will serve as a valuable resource for your high-flow intake manifold upgrade journey.
Choosing the Right High-Flow Intake Manifold for Your Engine

Selecting the appropriate high-flow intake manifold is crucial for optimizing engine performance. Various factors need to be considered to ensure compatibility and effectiveness in enhancing airflow. Here are the key aspects to evaluate:
- Engine Type: Determine whether your engine is naturally aspirated or turbocharged. Different manifolds are designed for specific applications, affecting the powerband and overall performance.
- Material: Choose between aluminum and plastic. Aluminum is generally more durable and can withstand higher temperatures, while plastic is lighter and often engineered to reduce heat transfer.
- Design: Analyze the design of the manifold. Some are optimized for high RPM performance, while others provide better low-end torque. Match the manifold design with your performance goals.
- Port Size: Ensure the port size matches your engine head ports. Mismatched sizes can lead to turbulence and restrict airflow, negating potential performance gains.
- Injector Compatibility: Confirm that the manifold supports your fuel injectors and their positioning. Misalignment can cause poor fuel delivery and engine inefficiency.
- Fitment: Check for potential interference with other components, such as throttle bodies and air filters. Proper fitment is essential for installation and overall functionality.
Finally, consult user reviews and expert recommendations to gauge the performance of specific models in real-world applications. Testing is also a valuable way to determine which manifold suits your specific setup, allowing for tailored performance optimization.
Step-by-Step Installation Process for High-Flow Intake Manifolds

Upgrading to a high-flow intake manifold can significantly enhance your engine’s performance. Follow this detailed guide to ensure a successful installation.
1. Gather Necessary Tools and Parts
Before starting, collect all required tools including a socket set, torque wrench, ratchet, screwdrivers, and gaskets. Ensure you have the new high-flow intake manifold and any additional components needed for the installation.
2. Prepare the Engine
Park your vehicle on a flat surface and disconnect the battery. Allow the engine to cool down completely to prevent burns. You may also want to remove the engine cover if applicable.
3. Remove the Existing Intake Manifold
Begin by disconnecting any electrical connectors, vacuum hoses, and sensors attached to the stock intake manifold. Label each component for easier reinstallation. Next, remove the bolts securing the manifold to the engine block using a ratchet and socket. Carefully lift off the old manifold and set it aside.
4. Clean the Surface
Thoroughly clean the engine mounting surface to remove any old gasket material and debris. A clean surface is crucial for a proper seal and optimal performance. Use a razor blade or gasket scraper and a cleaning solvent to ensure a smooth area.
5. Install New Gaskets
Place new gaskets on the engine block, ensuring they align correctly with the intake ports. If your high-flow manifold requires extra sealing compounds, apply them according to the manufacturer’s recommendations.
6. Fit the High-Flow Intake Manifold
Carefully position the high-flow intake manifold onto the engine. Make sure it seats evenly without any tilt. This step is vital to ensure proper airflow and prevent leaks.
7. Secure the Manifold
Insert the manifold bolts and hand-tighten them initially. Once all bolts are in place, use a torque wrench to tighten them to the specified torque settings provided by the manufacturer. Follow the recommended tightening sequence to avoid uneven pressure.
8. Reconnect Components
Reattach all electrical connectors, vacuum hoses, and sensors that were removed earlier. Ensure that each connection is secure and properly positioned to avoid any potential issues during operation.
9. Reinstall Engine Cover
If you removed an engine cover, reinstall it securely. Double-check to ensure nothing is obstructing the engine components.
10. Reconnect the Battery
Finally, reconnect the battery terminals. Ensure a tight fit to prevent any electrical issues.
11. Start the Engine
Start the engine and allow it to idle for a few minutes. Check for any leaks around the manifold. Listen for any unusual noises that could indicate installation issues.
12. Test Drive
Take the vehicle for a test drive. Monitor performance and ensure that everything operates smoothly. Pay attention to throttle response and overall engine behavior.
Following these steps will help you successfully install a high-flow intake manifold, leading to improved performance and efficiency for your engine.
Tuning Your Engine Post-Upgraded Intake Manifold for Optimal Performance
Upgrading your vehicle’s intake manifold is a significant step towards enhancing engine performance, but to fully realize the benefits, proper tuning is essential. The intake manifold optimizes air distribution to the cylinders, and when upgraded, it changes the dynamics of air and fuel mixture, necessitating adjustments to the engine management system.
First, it is crucial to recalibrate the engine’s air-fuel ratio. An upgraded manifold can improve airflow, which may lead to a leaner mixture if the engine is not adjusted accordingly. Employing a wideband O2 sensor will help monitor the air-fuel ratio accurately. Use this data to retune the engine management system, ensuring the mixture remains optimal for performance while preventing engine knock or misfires.
Next, consider adjusting the ignition timing. An efficient intake manifold may require changes to the ignition curve to optimize performance. Retuning the timing can enhance throttle response and overall power delivery. Ensure you have access to a quality tuning software or use a professional tuner who can handle dynamic adjustments based on your specific setup.
To maximize gains, testing with a dynamometer after the tuning adjustments is recommended. This step provides concrete data on horsepower and torque improvements, allowing for an assessment of the effectiveness of the new intake setup and tuning modifications. It also serves as a benchmark for future upgrades.
Finally, don’t overlook the importance of holistic tuning. Ensure that other components, such as the exhaust system and fuel injectors, are also optimized. A well-rounded approach leads to a significant performance increase, making the most of your upgraded intake manifold. Regularly revisiting your tune as you make further modifications will also keep your setup performing at its best.


